
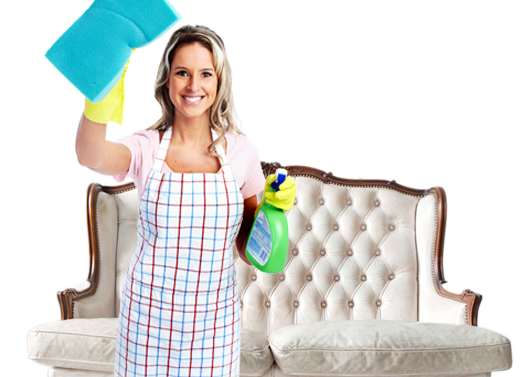


Stay Ahead with This Basic End of Tenancy Cleaning Guide
Posted on 29/05/2025
Stay Ahead with This Basic End of Tenancy Cleaning Guide
Moving out of a rented property can be both exciting and stressful. Whether you're a tenant aiming to retrieve your full deposit or a landlord wanting to prepare your property for new occupants, thorough end of tenancy cleaning is crucial. In this comprehensive guide, we'll walk you through every step to ensure your property shines, impresses letting agents or landlords, and meets professional cleaning standards.
Why End of Tenancy Cleaning Matters
Before diving into the practical side of things, it's essential to understand why end of tenancy cleaning is important:
- Deposit return: Most tenancy agreements require the property to be left in a clean state for the full return of your security deposit.
- Positive landlord references: A spotless property improves your chances of getting a good reference for future rentals.
- Legal and contractual obligations: Both tenants and landlords have legal responsibilities to ensure the property is clean and tidy for the next occupant.
What Is End of Tenancy Cleaning?
End of tenancy cleaning refers to the deep cleaning process required when vacating a rented home. It's much more detailed than regular cleaning and ensures the property is in a condition fit for new tenants. From dusting corners to scrubbing appliances, this cleaning variation involves every nook and cranny.
Difference Between Standard Cleaning and End of Tenancy Cleaning
Standard cleaning typically involves light cleaning tasks like vacuuming and surface wiping, whereas an end of tenancy clean is a thorough process that covers deep grime, stains, limescale buildup, and more.
Who Is Responsible for End of Tenancy Cleaning?
- Tenants: Responsible for returning the property as clean as it was when they moved in, taking into account Fair Wear and Tear.
- Landlords: May organize professional cleaning services between tenancies or if previous cleaning is inadequate.
The Essential End of Tenancy Cleaning Checklist
To stay ahead and ensure no area is overlooked, it's crucial to follow a comprehensive cleaning checklist. Here's a basic framework to get you started:
- Living areas & bedrooms
- Kitchen
- Bathrooms
- Hallways & Entrances
- Outdoor spaces
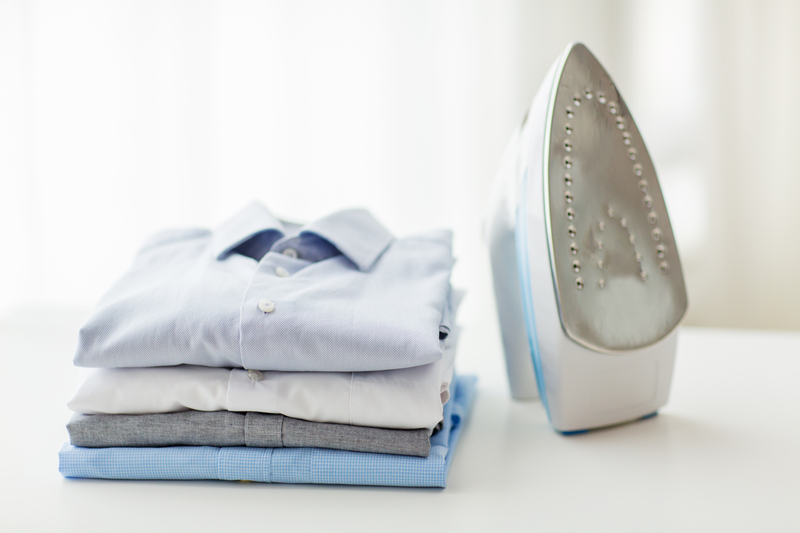
Living Areas and Bedrooms
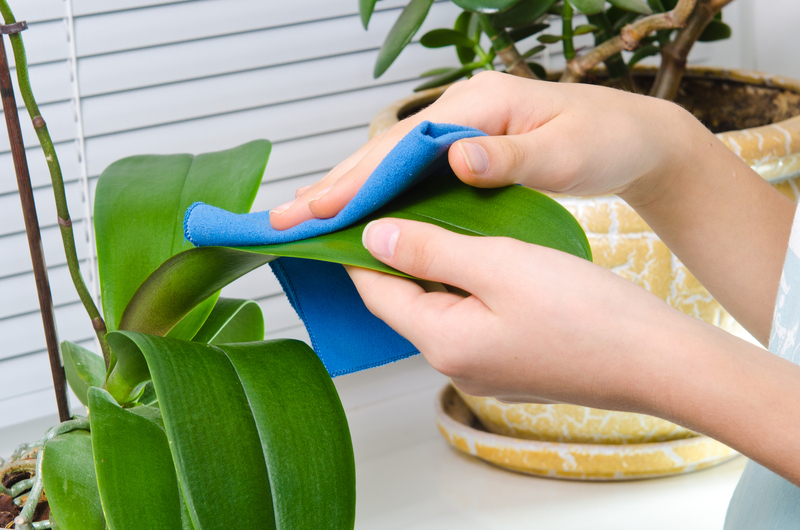
- Dust and wipe all surfaces, including skirting boards and picture rails
- Clean inside cupboards, closets, and drawers
- Vacuum carpets and mop hard floors
- Remove cobwebs from ceilings and corners
- Clean windows, sills, and mirrored surfaces
- Wipe down doors, handles, and light switches
- Spot-clean walls for marks and scuffs
Kitchen
- Deep clean all appliances: oven, hob, extractor fan, microwave, refrigerator, freezer, dishwasher, and washing machine
- Defrost and clean the fridge and freezer
- Wipe cupboards and drawers - inside and out
- Scrub sinks, taps, and splashbacks
- Degrease tiles and surfaces
- Mop the floor and clean ventilation covers
Bathrooms
- Scrub and disinfect toilets, sinks, bathtubs, and showers
- Descale showerheads, taps, and tiles
- Wipe mirrors, shelves, and fixtures
- Remove mould and limescale buildup from grouting and silicone
- Empty bins and clean floors
Hallways & Entrances
- Vacuum or mop floors
- Wipe down doors and frames
- Clean any glass panels and mirrors
- Remove dust from skirting and radiators
Outdoor Spaces
- Sweep patios or balconies
- Tidy gardens (if required by contract)
- Remove rubbish or any remaining belongings
How to Prepare for End of Tenancy Cleaning
Preparation is key to a stress-free end of tenancy cleaning. Here's what you should do beforehand:
- Read your tenancy agreement - check for specific cleaning obligations or inspection guidelines.
- Check the inventory report - refer to the condition of the property when you moved in.
- Remove all personal belongings - this makes thorough cleaning far easier.
- Dispose of rubbish - avoid leaving anything behind to ensure a fresh start for the next tenant.
- Gather your cleaning supplies - stock up on specialist cleaning products, gloves, mops, buckets, and dusters.
Step-by-Step Basic End of Tenancy Cleaning Guide
Ready to get started? Follow these simple steps to complete your end of lease cleaning like a pro.
Step 1: Start with the Kitchen
The kitchen is often the hardest and most scrutinized room during property inspections. Begin by:
- Emptying all cabinets and wiping inside and out
- Cleaning kitchen appliances (don't forget oven trays and fridge shelves)
- Scrubbing counters, backsplashes, sinks, and taps
- Cleaning extractor fans and hoods (replace filters if necessary)
- Mopping all floors and checking for hidden stains or grime
Step 2: Tackle the Bathrooms
Focus on:
- Thoroughly descaling taps and shower fittings
- Scrubbing toilets, including the base and behind
- Wiping tiles, mirrors, and glass doors
- Emptying bathroom bins and cleaning all shelves or cabinets
Step 3: Bedrooms and Living Areas
- Dusting and cleaning furniture, wardrobes, and skirting boards
- Vacuuming under beds and behind cranes (move furniture where possible)
- Wiping doors, handles, and light fixtures
- Spot-cleaning any marks on walls or floors
Step 4: Hallways, Entrances, and Stairs
- Remove all dust and dirt from entryways
- Clean any glass panels or mirrors
- Wipe down bannisters and skirting boards
Step 5: Final Touches and Inspection
- Double-check all rooms against your inventory check-in photos
- Air out rooms to eliminate odours
- Take photos as proof of cleanliness
- Arrange a final waste collection if needed
DIY vs. Professional End of Tenancy Cleaning
Should you do it yourself or hire professionals? Both have their merits:
- DIY cleaning: More budget-friendly and satisfying. Ideal if you have time and can access professional-grade cleaning products.
- Professional cleaning: Guarantees top results, saves time, and is often required by letting agents or landlords. Many companies offer guarantee certificates for deposit returns.
What Does Professional End of Tenancy Cleaning Include?
Expert companies offer comprehensive packages, typically including:
- Deep cleaning of every room
- Carpet steam cleaning
- Oven and appliance cleaning
- Upholstery cleaning and stain removal
- Window cleaning (inside and sometimes outside)
- Guaranteed standards to meet letting agent or landlord expectations
Tips to Be Ahead in End of Tenancy Cleaning
- Start early: Give yourself at least a week before moving day for cleaning tasks.
- Use a checklist: Download a printable end of lease cleaning checklist to guide your process.
- Enlist help: Involve family or friends, or split tasks among housemates.
- Document everything: Photos before and after cleaning serve as valuable evidence for deposit disputes.
- Look for hidden areas: Don't forget tops of wardrobes, behind radiators, and under beds.
- Communicate with your landlord: Clarify expectations ahead of your move-out date to avoid misunderstandings.
Common Mistakes to Avoid in End of Tenancy Cleaning
Steer clear of these typical slip-ups:
- Neglecting the oven: This appliance is commonly checked and can lead to deductions if dirty.
- Leaving limescale in bathrooms: Pay extra attention to taps, showerheads, and tiles.
- Forgetting windows and mirrors: Streaky glass can make an entire room look unclean.
- Overlooking under furniture and behind large pieces: Dust and debris can accumulate unseen.
- Ignoring garden sheds, garages, or balconies: Outdoor areas are often included in property checks.
- Improper waste disposal: Leaving behind rubbish or unwanted items can lose your deposit.
Frequently Asked Questions on End of Tenancy Cleaning
Is Professional End of Tenancy Cleaning Mandatory?
It depends on your tenancy agreement. Many landlords prefer (or require) a professional clean, but if you can meet or exceed these standards on your own, that's often acceptable.
How Long Does End of Tenancy Cleaning Take?
The process can take anywhere from a few hours to a full day, depending on property size and condition. Plan ahead, especially if you're cleaning solo.
Can I Claim My Deposit Back If I Clean Myself?
Absolutely--so long as you perform a high-quality clean and document your work. Take dated photos and keep receipts for cleaning supplies or professional services.
Should I Steam Clean the Carpets?
Many contracts specify that carpets must be professionally cleaned. At the very least, vacuum thoroughly and spot-treat stains. Consider hiring a carpet cleaner for best results.
Conclusion: Stay Ahead with a Proactive Cleaning Approach
Of all the moving-out tasks, thorough end of tenancy cleaning is perhaps the most important. Not only does it protect your deposit, but it also leaves the property fresh and welcoming for the next person. Whether you choose to clean yourself or work with professionals, using this guide as your checklist will help you stay ahead and avoid costly mistakes. Fulfilling your obligations sets a positive precedent and smooths your transition to your next home.
Ready to leave your old place sparkling? Print out this basic end of tenancy cleaning guide and get started today!